In this article
Resizing sounds like one operation, but making an image smaller and making it larger are very different. One throws away pixels you do not need. The other has to invent pixels that were never there. Knowing which you are doing tells you what to expect.
In short: Always resize from the original, keep the proportions locked, and resize once. Shrinking keeps images sharp; enlarging beyond the original cannot add real detail.
Making an image smaller
Downsizing combines neighbouring pixels into fewer pixels. Done once, from the original, it produces a sharp result, often sharper-looking than the original because fine noise is averaged away. This is what you want for websites, email and upload forms.
Making an image larger
Enlarging spreads existing pixels over a bigger grid and fills the gaps by estimating. The picture gets bigger but not more detailed, so it looks soft. A modest increase of 10 to 30% usually passes unnoticed. Doubling the size or more is visible, especially on text and fine edges.
| Downsizing | Upsizing | |
|---|---|---|
| What happens | Pixels are merged | Pixels are invented |
| Sharpness | Preserved | Reduced |
| File size | Smaller | Larger |
| Safe limit | Any amount | Roughly up to 130% before softness shows |
Five rules that protect quality
- Start from the original. Resizing a copy that was already shrunk or compressed stacks one loss on another.
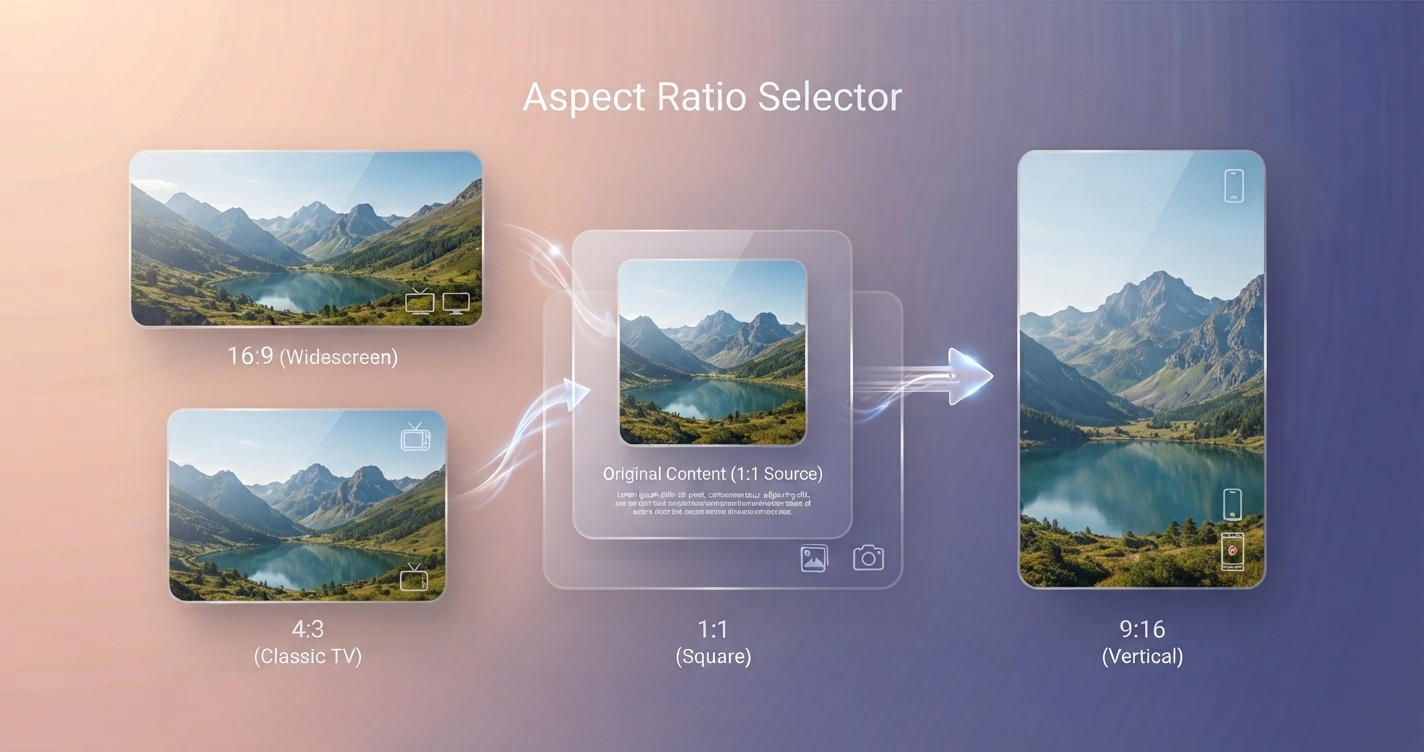
- Keep the proportions. Changing width without height stretches the picture. Leave “keep proportions” on, and crop first if you need a different shape.
- Resize once. Going from 4000 to 2000 to 1000 pixels in separate steps is worse than going straight to 1000.
- Choose the format for the content. Photos as JPG or WebP at quality 85 or above; screenshots and graphics as PNG.
- Check at 100%. View the result at its real size, not zoomed in or out.
Step by step in your browser
- Open the Image Resizer and add your image.
- Choose pixels and enter the width you need. Leave the height empty and the proportions locked.
- Download the result. The new dimensions are added to the file name, so the original is not overwritten.
The image is processed on your device and is not uploaded.
What size do I need?
| Purpose | Suggested width |
|---|---|
| Full-width website banner | 1600 to 1920 px |
| Image inside an article | 1200 px |
| Email attachment to view on screen | 1200 to 1600 px |
| Profile picture | 400 to 800 px, square |
| Print width in inches × 300 |
Resizing is not the same as compressing or cropping
- Resizing changes the number of pixels.
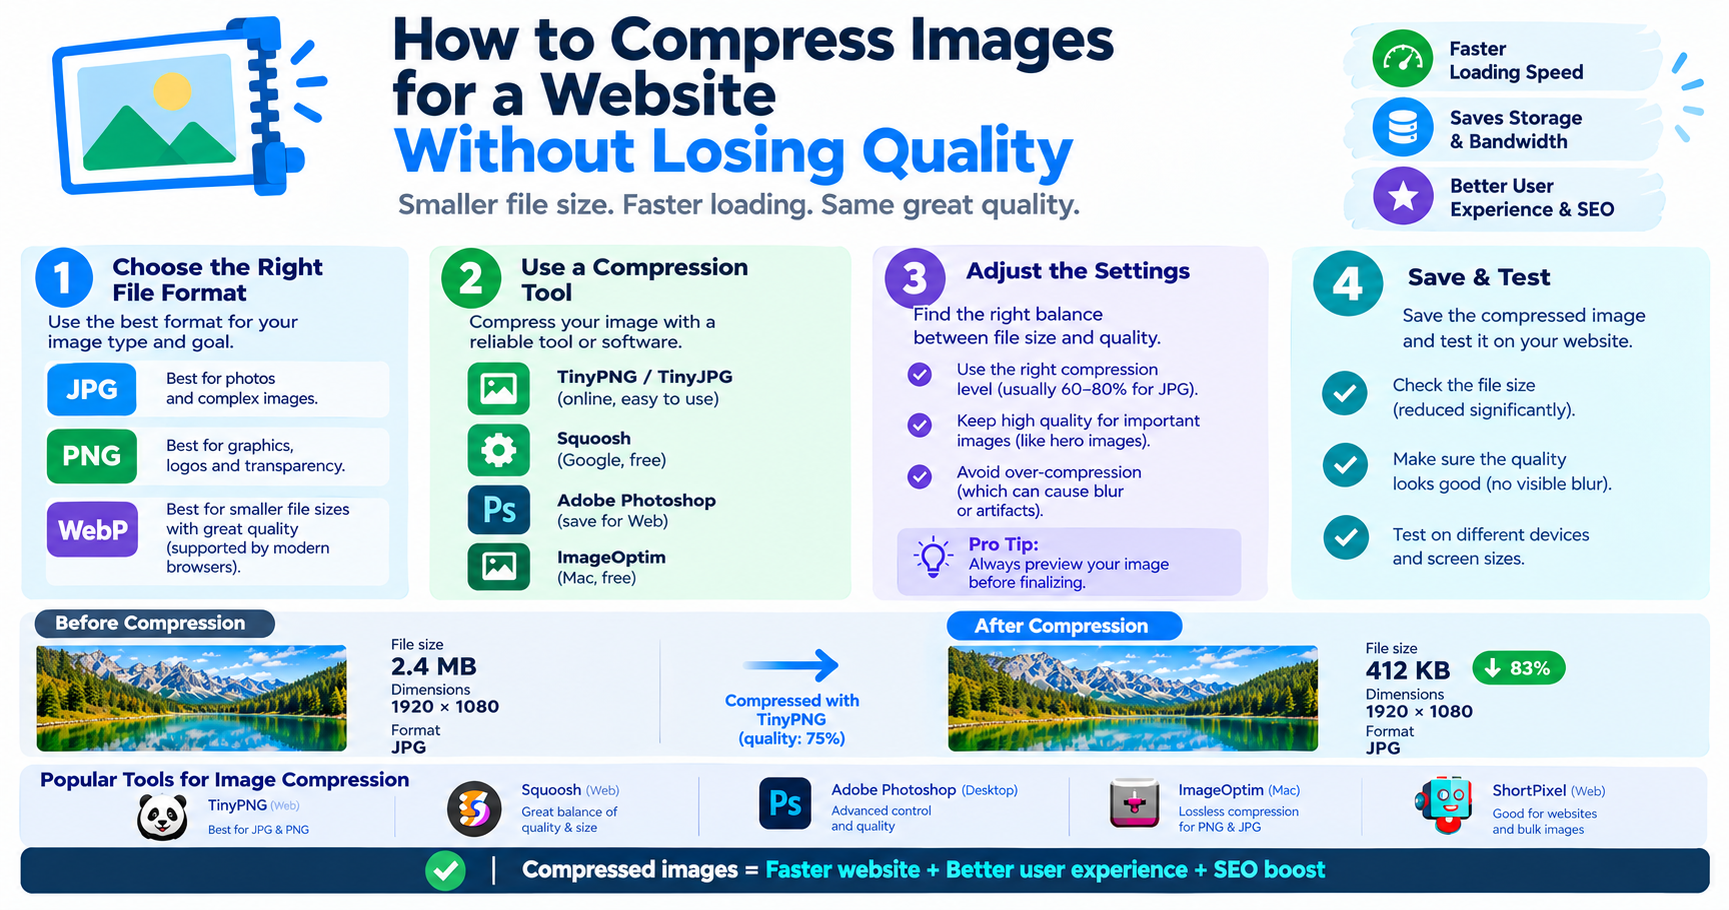
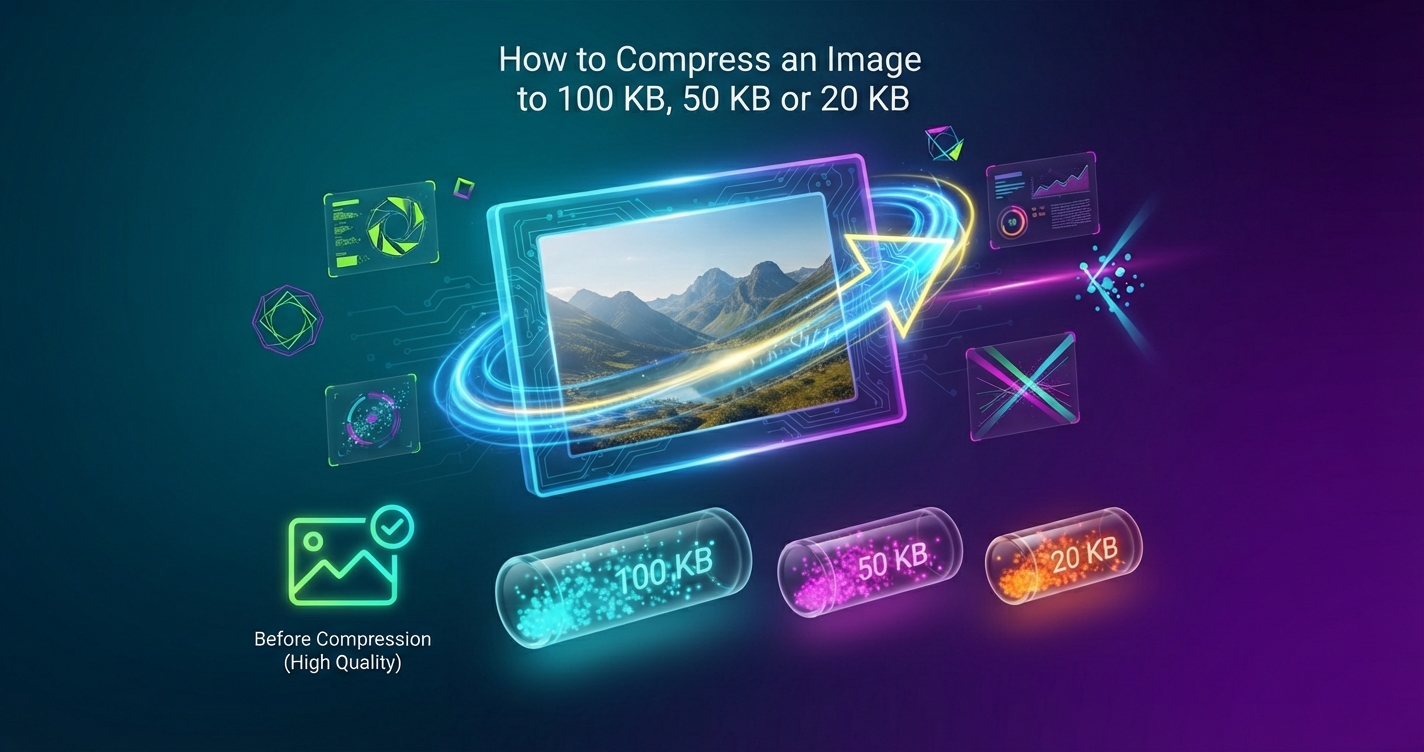
- Compressing keeps the pixels and stores them in fewer bytes by lowering quality.
- Cropping cuts away part of the picture.
For the smallest good-looking file, do them in this order: crop with the Image Cropper, resize, then compress.
If you must enlarge
Use the largest original available; phones often keep a full-size version even when a shared copy was reduced. Enlarge in one step. For photos, AI upscaling tools can produce convincing results by generating plausible detail, but treat faces and text with care, because generated detail is a guess. For logos, ask for a vector file such as SVG, which scales to any size with no loss.
Advantages and disadvantages of resizing before you upload
Advantages
- Smaller files that load and send faster
- You control the quality, not the website
- Fits upload limits without trial and error
Disadvantages
- One extra step
- You need to know the target size
- A too-small copy cannot be enlarged again, so keep the original
Frequently asked questions
Does resizing an image reduce quality?
Making it smaller keeps it sharp. Making it larger than the original softens it, because no new detail can be created.
How do I resize without stretching?
Keep the proportions locked and change only the width or only the height. To change the shape, crop first.
What is the difference between resizing and compressing?
Resizing changes the pixel dimensions. Compressing keeps the dimensions and reduces the file size by lowering quality.
Can I enlarge a small image for printing?
Only a little without visible softness. For a good print you need about 300 pixels per inch of print size.